Some images have been resized to better fit your display. You can click on images to view them full size if they have been resized.
Determining the location of your WordPress Files and which Database you should restore.
If you are unsure where your WordPress files for your site are located, or which database your WordPress site uses, we have an article that shows you how to identify this information:
Identifying where your WordPress files are stored and what database your WordPress Site is using.
Restoring the database.
- To restore the database you will access your cPanel and click on "JetBackup 5" in the "Files" section.
If you see "JetBackup" instead of "JetBackup 5" you will need to use this article instead: Restoring a WordPress Site using JetBackup 4
- Click on "Databases".

- Enter the database name in the "Search" box.

- Click on the database in the search results. JetBackup 5 will default to the most recent backup. You can choose an older backup by clicking on "Choose Other Backup".
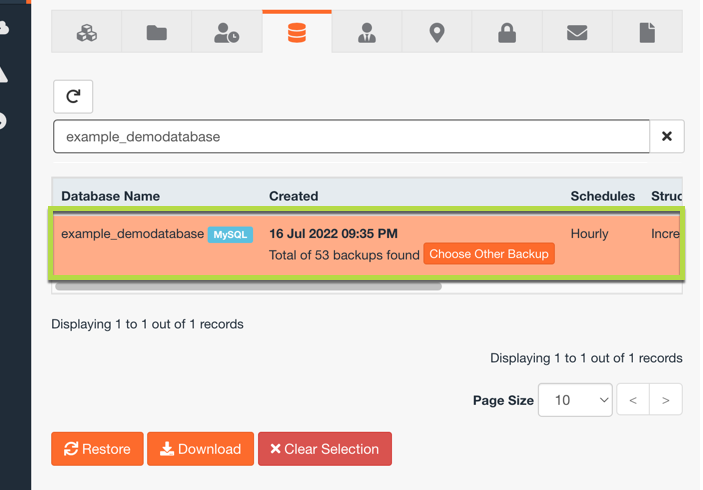
- Click on "Restore".
- JetBackup 5 will show you a restoration summary. Click on "Restore Selected Items".

- The restoration of the database is now in progress. If you left the "Go to Queue after I click Restore" box checked it will take you to the restoration queue where you can watch the progress of the restoration.
Restoring the files.
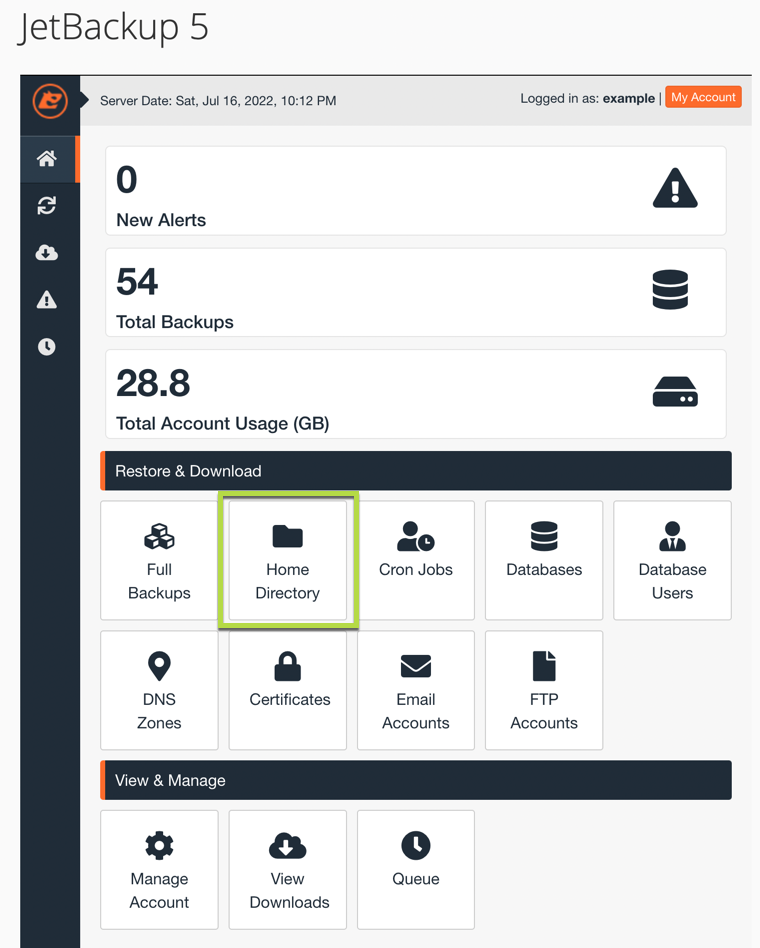
- To restore the files you will access your cPanel and click on "JetBackup 5" in the "Files" section.
- Click on "Home Directory".
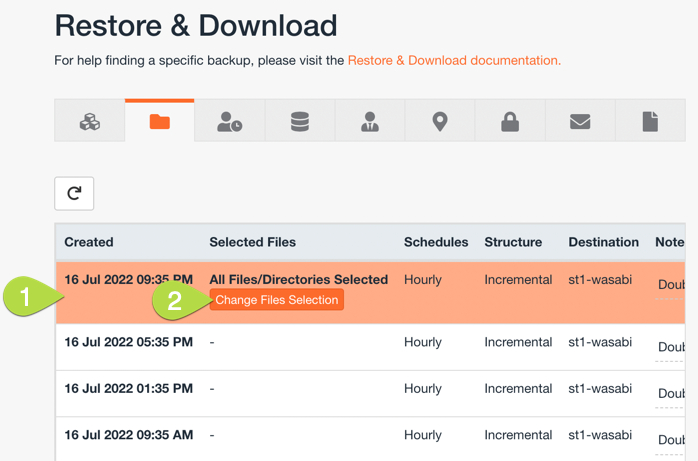
- Click on the date from which you wish to restore and then click on "Change File Selection".
- Check the boxes for the files and/or folders that you wish to restore. You can select multiple files and/or folders. You may want to check the "Show Hidden Files" box if you are not restoring an entire folder. Once you have selected all of the files and/or files you wish to restore click "Select Files". You would want to select the folder for the domain you wish to restore. Should you be wanting to restore your primary domain it is stored in "public_html" and you might need to go within that folder and select specific files and folders as you might have other domains within this folder.
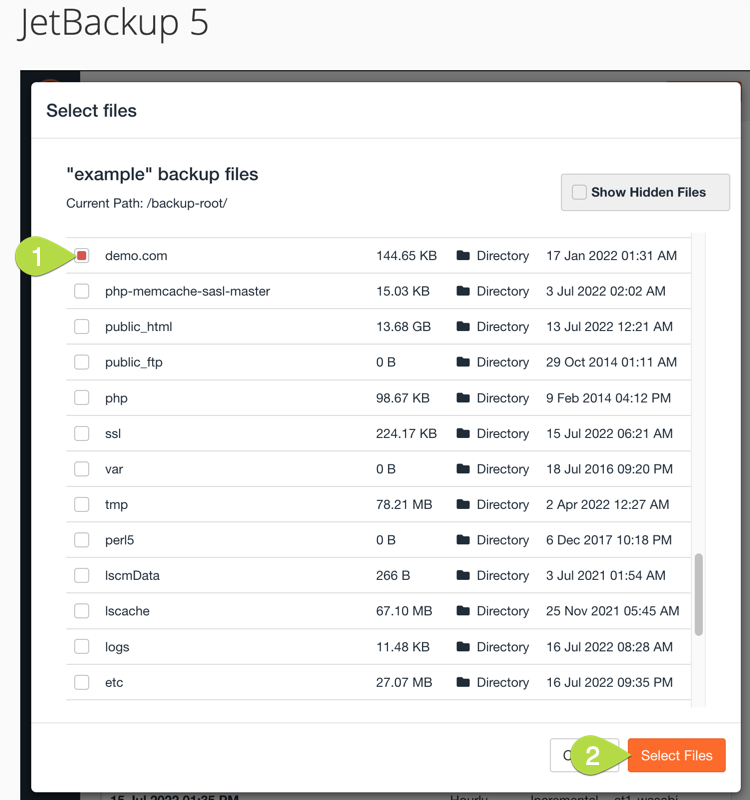
- You will now see the number of files and/or folders selected. You will next click the "Restore" button.

- You will see a Restore Summary. In this window you will click "Restore Selected Items". If you leave the "Go to Queue after I click Restore" box checked it will take you to the restoration queue page where you can watch the status of the restoration.

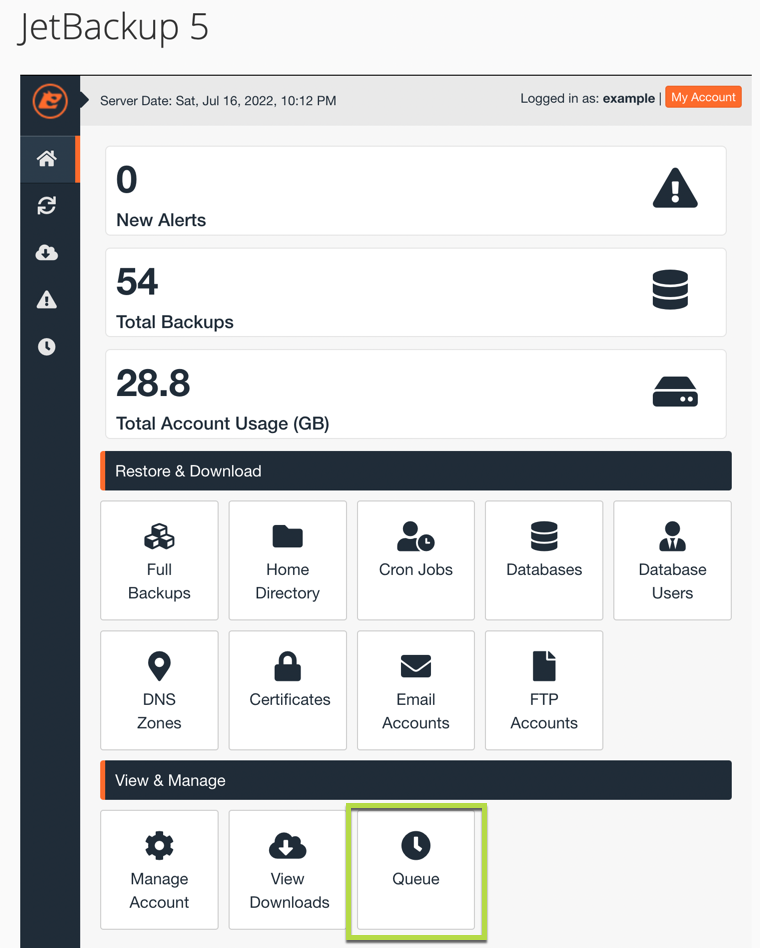
Checking the status of the restoration with JetBackup 5
If you left the "Go to Queue after I click Restore." box checked when doing a restore you will be on the "Queue" page in JetBackup 5 that shows you the progress.
- To view the progress of backup restorations in progress access your cPanel and click on "JetBackup 5" in the "Files" section.
- Click on "Queue".